
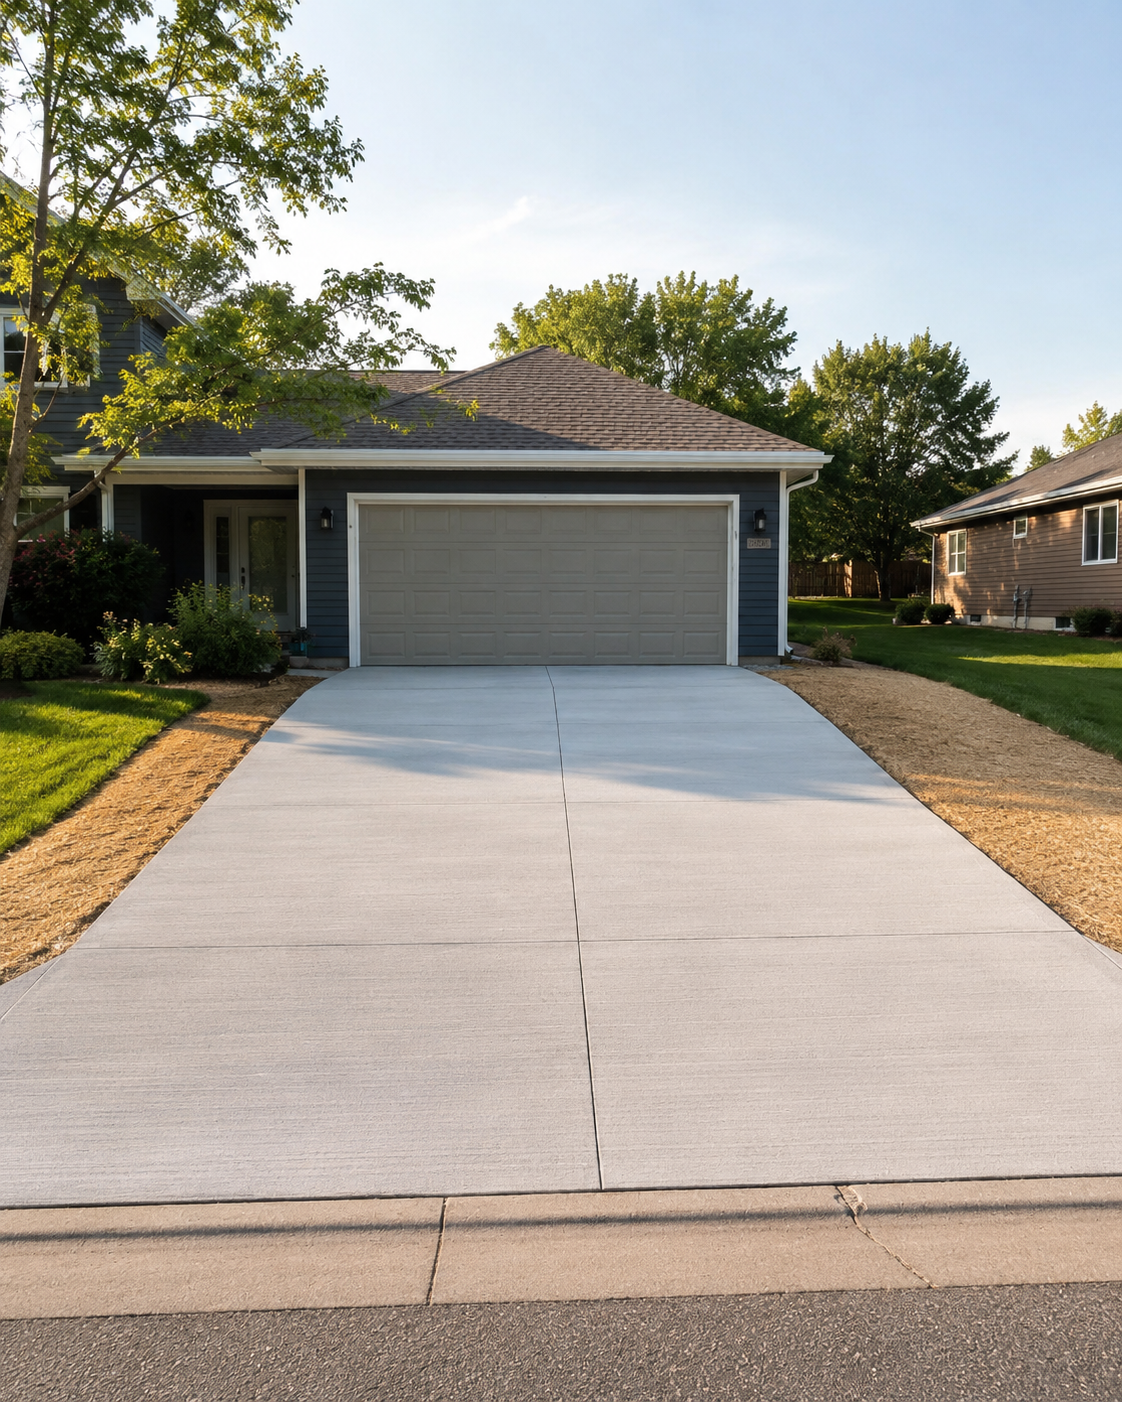
Step 1: The Free Estimate
Everything starts with a site visit and a conversation. We come out, take a look at your existing driveway, and talk through what you want. We'll assess the condition of what's there, note any drainage considerations or grade issues, and give you a clear picture of what the project involves.
You'll get a straightforward estimate — what the work includes, what it costs, and what the timeline looks like. No vague ranges, no surprises after the fact.
Most residential driveway estimates in the Twin Cities take about 30 minutes on-site.
Step 2: Scheduling
Once you're ready to move forward, we get you on the schedule. During peak season (May through September), we're typically booked 2 to 4 weeks out. We'll give you a project window and confirm the date as it gets closer.
You don't need to do anything special to prepare. We handle the logistics.
Step 3: Tear-Out and Removal
On project day, the first thing that happens is the existing driveway comes out. We break up and remove the old concrete — all of it. This isn't a resurface or an overlay. A proper driveway replacement means starting fresh.
The debris is loaded and hauled off the site. By the time we're done with demo, your driveway area is cleared down to the base material.
This phase typically takes a few hours on a standard residential driveway. Larger or more complex projects take longer.
Step 4: Subgrade Evaluation and Base Prep
This is the step most contractors rush through — or skip entirely. It's also where the long-term performance of your driveway is won or lost.
Once the old concrete is out, we evaluate what's underneath. If the subgrade (the native soil below) is soft, unstable, or has problem areas, we address them now. Pouring concrete over a compromised base is how you end up with a cracked driveway in five years.
We then build and compact the Class-5 rock base — a crushed aggregate layer that provides drainage, stability, and a uniform foundation for the concrete above. This layer is compacted in lifts to ensure it won't shift or settle after the pour.
Done right, this phase takes more time than demo. That's how it should be.
Step 5: Forming
Wood or steel forms are set around the perimeter of the driveway to define the edges and control the thickness and grade of the pour. This is also when we set any elevation changes needed for drainage — making sure water runs off the driveway rather than pooling on it or running toward your garage or foundation.
Step 6: Rebar Placement
Every JW Concrete driveway gets rebar reinforcement. Steel rebar is tied and placed on chairs that hold it at the correct height within the slab — typically mid-depth. This positioning matters. Rebar sitting flat on the ground does almost nothing for structural strength. Properly placed rebar works with the concrete to resist cracking and hold the slab together under load.
We use rebar, not wire mesh. The difference in long-term performance is significant, especially in a climate that stresses concrete the way Minnesota's does.
Step 7: The Pour
This is the part the neighbors watch.
Ready-mix concrete is delivered by truck and placed into the forms. Our crew works it into position, making sure the mix fills the forms completely and consolidates around the rebar.
We use a 5,000 PSI mix — stronger than standard residential concrete — for durability and weather resistance.
Step 8: Finishing
Once the concrete is placed, it's finished by hand and machine. The surface is leveled, smoothed, and textured. Most residential driveways get a broom finish — a light texture that provides traction without looking rough.
Control joints are cut into the surface at planned intervals. These joints give the concrete a designated place to crack if it moves — keeping any cracking along predictable lines instead of randomly across the surface.
Edge work is done carefully to ensure clean, consistent margins.
Step 9: Sealing
Before we leave, every JW Concrete driveway gets sealed with Ultimate Barrier — a professional-grade sealer that protects the surface from moisture intrusion, road salt, and UV exposure from day one.
This isn't a step we add on or upsell. It's part of the standard install on every project.
Step 10: Cleanup
We don't leave your property a mess. After the pour and sealing are complete, we sweep the street, remove all concrete debris and form materials, and address any disturbed areas around the driveway perimeter — topsoil placement and seed blankets where needed.
We leave your property cleaner than we found it. That's not a marketing line — it's something our customers mention regularly in reviews.
The Timeline: What to Expect
Project duration: Most standard residential driveways are completed in one to two days. Larger projects or those with significant base work may take longer.
Foot traffic: 24 hours after the pour.
Vehicle use: 7 days after the pour.
Full cure: 28 days. Your driveway reaches its full 5,000 PSI design strength at this point.
First winter: Avoid de-icing salts on new concrete for the first winter season. Use sand for traction instead.
What Sets a JW Concrete Driveway Apart
The process above is how driveway replacement should work. Not all contractors do it this way. Base prep gets rushed. Rebar gets skipped. Control joints get placed by guesswork. Cleanup is an afterthought.
We do it right because cutting corners on a driveway just means the homeowner deals with the problems later. We'd rather build something that holds up and earns a referral than save an hour on demo prep.
Every JW Concrete driveway comes with a 3-year warranty. We're confident enough in our process to stand behind it.
Ready to get started? We offer free estimates for driveway replacement throughout Minneapolis, St. Paul, and the Twin Cities metro.